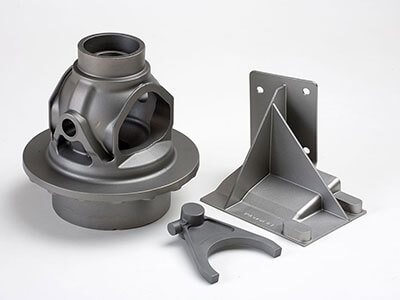
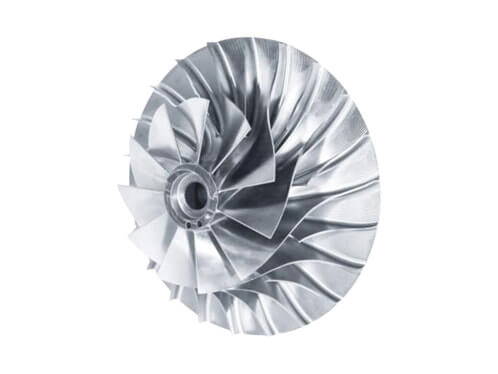
The melting point of cast steel is relatively high, at this condition the steel is easy to be oxidized. Furthermore, the liquidity of the steel is poor, so the shrinkage is big, its body shrinkage rate is 10 ~ 14%, and line shrinkage is 1.8 ~ 2.5%.
Due to the complexity of the casting process, there are steps that, when done incorrectly, can lead to casting defects, or undesired irregularities in the metal casting process. Such as cracks, gas holes, etc.
Some defects are tolerable, some are repairable, and some must be eliminated. In order to identify the nature of the defect, examine the possible causes and take appropriate corrective action, its location, appearance, shape and size must be determined.
Here we some major stainless steel investment casting defects:
Gas hole
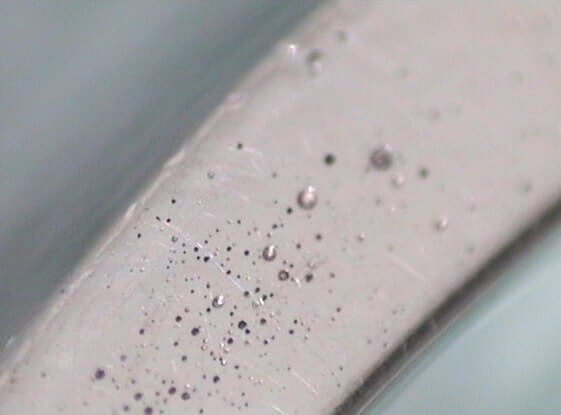
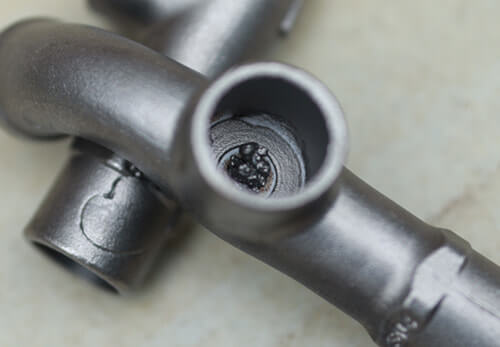
Gas hole exists on the surface or internal area of the casting. Gas or porosity appears as a round, smooth-walled cavity, it may appear as a slightly oxidized surface of varying diameter, a bubble formed in the casting during cooling. This occurs because most liquid materials can hold a large amount of dissolved gas, which is expelled when the metal solidifies. Gas porosity may present as pores on the surface of the casting or porosity may be trapped inside the metal. Internal holes are usually pear-shaped. Choke holes are irregularly shaped and have a rough surface. Surface gas holes can be detected by visual inspection, however, subsurface holes can only be detected after machining.
Shrinkage
Shrinkage defects occur when casting sections change at the feed gate to the casting, or when the feed metal flow is not available to compensate for shrinkage as the thick metal solidifies during cooling. Shrinkage defects usually present as rough holes in the casting surface or internal. The grains of the shrinkage cavity are big and thick. Cavities might also be paired with dendrite fractures or cracks. Large shrinkage cavities can undermine the integrity of the casting and may cause it to eventually break under stress.
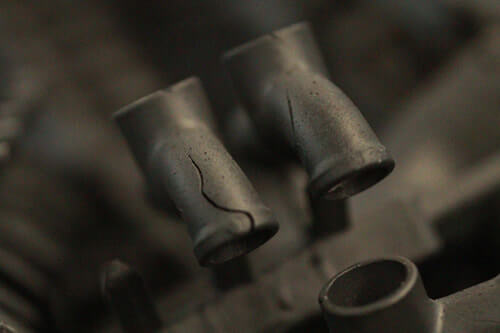
Crack(Hot Tear)
Hot tear crack defects, also known as shrinkage cracks, occur when the molten metal is restricted from shrinking by the ceramic shell mold during cooling. The appearance of the crack is linear or irregular curve. The surface of the hot tear crack is dark grey or black due to strong oxidation, and no metallic luster. The fracture surface of the cold crack is clean, with a metallic luster. General casting crack can be seen directly. However, inside cracks can only be found by using other methods.
Cracks are often associated with defects such as shrinkage, and slag inclusion. They occur mainly in the inside of the pouring corner, in the thick joints, and in the hot section between the pouring riser and the casting.
Coldshut
Coldshuts occur when the two metal streams do not fuse properly in the mold cavity, resulting in discontinuities or weak spots within the casting and a cracked appearance. Potential causes are low pouring temperature, slow pouring speed, or the shell being too cold.
When the coldshut is serious, it will become “owe cast”. Coldshut often appears in the top wall of the casting, thin horizontal or vertical plane, or in the joint area of thin & thick wall thickness.
Inclusions
There are 2 main types of inclusion, slag inclusion and sand inclusion.
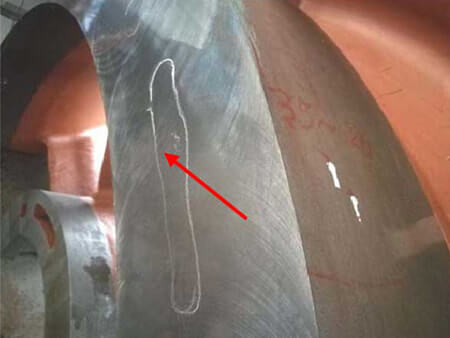
Slag inclusion is a defect where non-metallic materials create pockets or ribbon-like entrainments in the casting. A slag hole is a clear or indistinct hole in a casting. It is filled wholly or partially by slag and has an irregular shape. Small shapes of slag are not easily detected. After removing the slag, it will show smooth holes, usually distributed in the bottom area of the pouring position, around the runner cross-section, or near the corners.
Sand inclusion is very common. It is formed in the casting surface or internally, and is in a relatively regular shape.
